Preparing Your Perth Roof for Storm Season
The first serious front of May is a bad time to find out your ridge caps are loose. By then the roofers worth calling are booked, and the ones who are not are the ones knocking on your door. Those tiles you noticed last summer are going to hold. Perth’s storm season, running aggressively from May through September, isn’t just about rain; it’s about sudden, violent wind gusts that can strip a roof in minutes. From what we’ve seen in recent years, especially with the 2024 floods in Clarkson and the freak “mini-tornado” events in City Beach and Bibra Lake during 2025, the weather is becoming harder to predict and more damaging when it hits.
The difference between a dry ceiling and a midnight emergency call usually comes down to what you do before the clouds turn grey. A well-maintained roof handles 100km/h gusts far better than one with brittle pointing or rusted valleys.
It is the same story every winter: homeowners who could have saved thousands with a simple inspection instead facing major repairs because they waited too long. This guide lays out exactly how to prepare your roof for the 2026 season, the specific local risks to watch for, and the immediate steps to take if the worst happens.
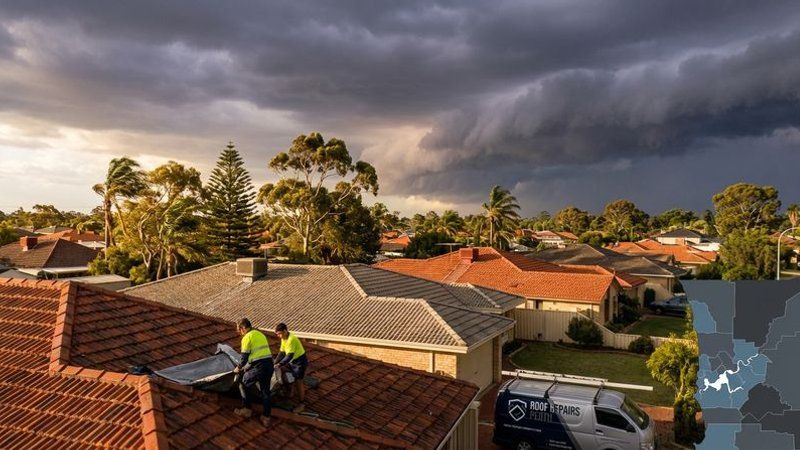
Before the Storm Season: Preparation Checklist
The weeks leading into autumn and early winter are your window of opportunity. Getting these tasks done before the first major cold front hits is the single most effective way to protect your biggest asset.
Inspect and Upgrade Ridge Capping
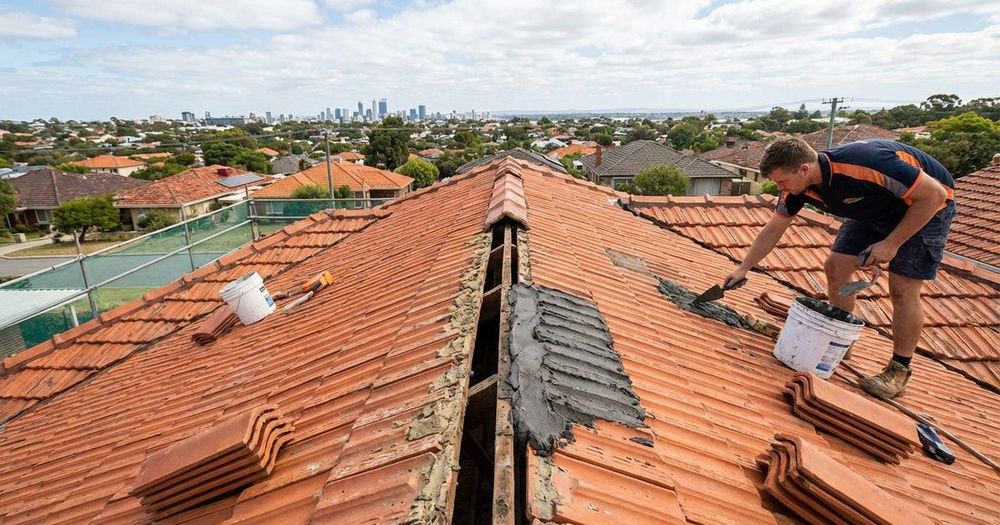
Ridge capping mortar is the most common failure point we encounter in Perth’s tiled roofs. The traditional sand-and-cement mortar eventually cracks due to the natural thermal movement of your home, leaving tiles loose and vulnerable to wind uplift.
Our team highly recommends upgrading to a flexible pointing compound such as Starpoint, which is designed to flex with your roof rather than crack. Perth sits in wind region A, so nothing here needs a cyclonic rating, but Starpoint is wind tested to class C3 anyway, which means your ridge caps stay locked down through a winter front with plenty of margin to spare.
Clear All Gutters and Downpipes
Blocked gutters are the primary cause of internal ceiling damage during high-intensity rain events. When a “super cell” dumps 50mm of rain in an hour, like we saw in the northern suburbs recently, blocked gutters cause water to flow back under the eaves and into your ceiling cavity.
You should clear every gutter run and test each downpipe by running a hose through it to ensure it drains freely. In leafy suburbs like Duncraig, Warwick, or the Perth Hills, you might need to do this monthly during winter.
Trim Overhanging Branches (The 3-Metre Rule)
Branches that overhang your roof act like whips during a storm, cracking tiles and dislodging capping. Even worse, Gum trees and large Eucalypts are notorious for dropping heavy limbs without warning.
We suggest keeping all vegetation trimmed back at least two to three metres from your roof line. Check your local council website (e.g., City of Joondalup or Wanneroo) for their bulk green waste collection dates, usually starting in June or July, so you can time your pruning to match the pickup schedule.
Check Valley Irons for Rust
Perth’s sandy soils and salty coastal air are a recipe for corrosion, especially for older galvanised valley irons. Once a valley iron rusts through, water pours directly into your roof space every time it rains.
Look for any signs of red rust or debris buildup in the “V” metal channels where two roof faces meet. If you see rust holes, a patch job won’t cut it; the entire valley iron needs replacing to ensure a watertight seal for the next 20 years.
Inspect Flashings and Sealant
Flashings are the metal strips that seal the gaps around chimneys, skylights, and vent pipes. Over time, the sealant can dry out and crack, or the metal itself can lift in high winds.
You need to check these junctions carefully for any gaps or visible daylight. A quick reseal with a high-quality polyurethane roof sealant now can prevent a nagging leak that is difficult to trace later.
Review Your Home Insurance
Many homeowners get caught out by the fine print when they try to claim for storm damage.
Our advice is to check your policy for a “72-hour exclusion period,” which often means you aren’t covered for storm damage if you take out the policy less than three days before a storm hits. Confirm your sum insured matches current 2026 building costs, as material prices have risen significantly in WA over the last two years.
Comparison: Preventative Maintenance vs. Emergency Repair Costs (2026 Estimates)
Dealing with issues proactively is always cheaper than an emergency call-out at 2 a.m.
| Service | Estimated Cost (Perth 2026) | Why It Matters |
|---|---|---|
| Gutter Cleaning | $180 - $350 | Prevents water backup and ceiling collapse. |
| Ridge Repointing | $25 - $35 per linear metre | Stops tiles from blowing off in high winds. |
| Leak Repair (Minor) | $200 - $600 | Fixes small issues before they rot timber frames. |
| Emergency Tarping | $500 - $1,200 | Temporary fix only; costs more due to danger/hours. |
| Ceiling Restoration | $2,000 - $5,000+ | Required if water damage causes ceiling collapse. |
During a Storm: Safety First
When a severe storm hits, your priority is personal safety, not your roof.
- Stay indoors and keep clear of windows, especially if you have large trees nearby.
- Move valuables and electronics away from any spot where you’ve seen a drip before.
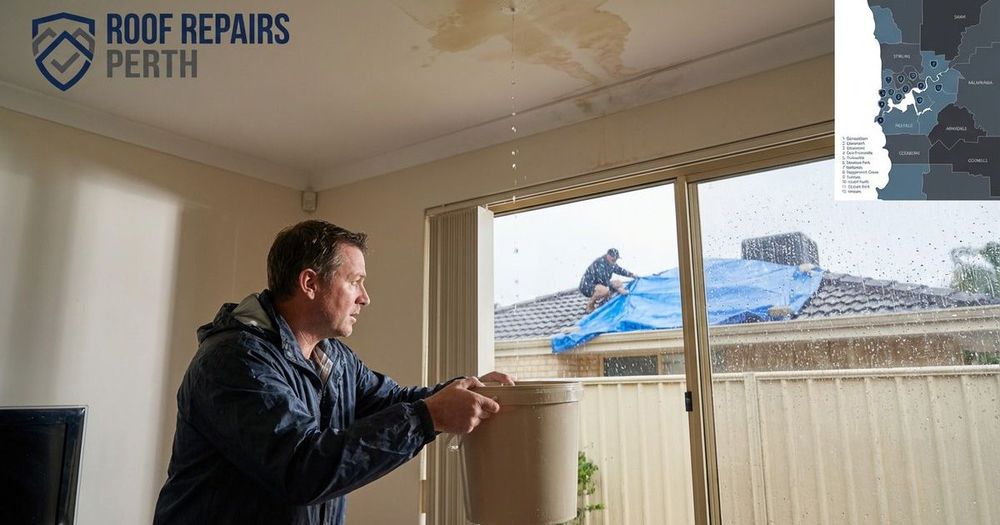
- Place buckets and towels under active leaks to catch water and protect flooring.
- Do not climb onto the roof during the storm, wet tiles are like ice, and sudden gusts can knock you off balance instantly.
- Turn off electricity at the mains if water is running down walls or near light fittings.
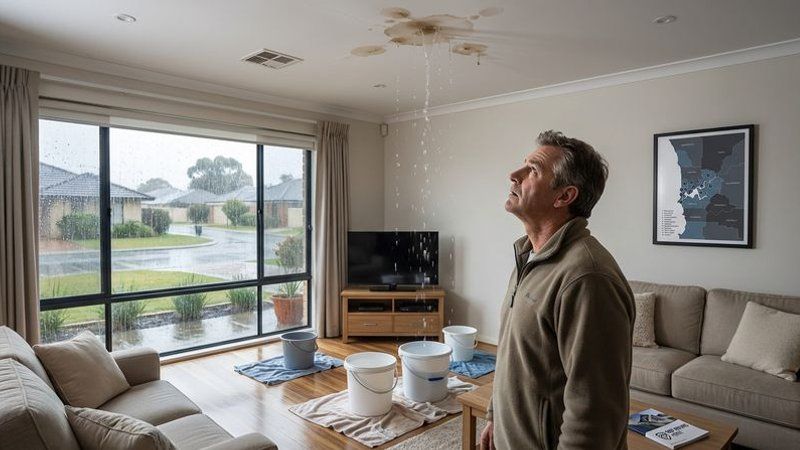
After the Storm: What to Do
Once the wind has died down and the rain stops, it’s time to assess the situation carefully.
Step 1: Assess from the Ground
Walk around the perimeter of your home and look for tell-tale signs of damage.
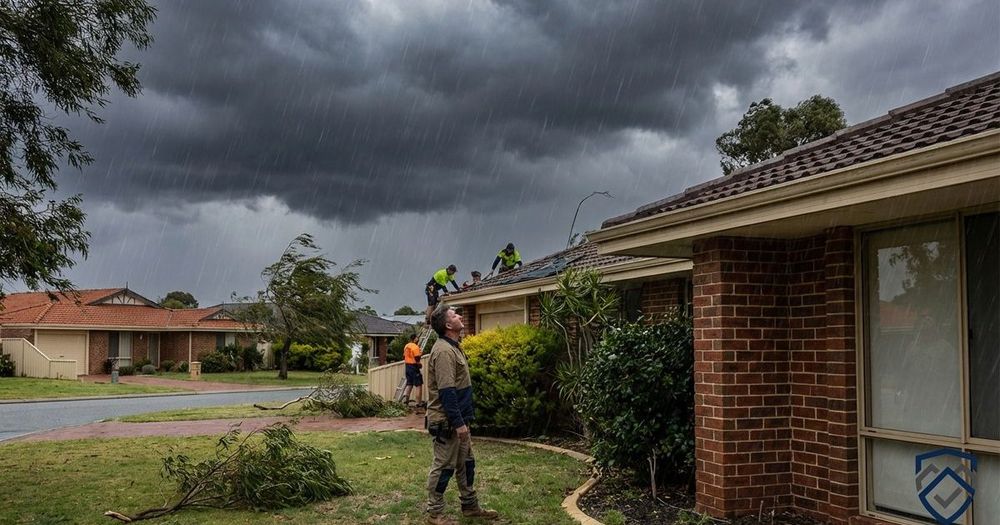
You might see broken tiles on the ground, displaced ridge capping, or gutters hanging loose from the fascia. Use a pair of binoculars to scan the upper sections of the roof without needing a ladder.
Step 2: Document Everything
If you plan to make an insurance claim, you need solid evidence.
- Photograph all exterior damage from multiple angles before moving anything.
- Photograph interior damage, including water stains on ceilings, wet carpets, and damaged furniture.
- Note the date and time the damage occurred (insurers cross-reference this with BoM weather data).
- Keep specific records of any emergency make-safe repairs you had to pay for immediately.
Most insurers verify claims faster when the initial report is backed by clear, timestamped photos.
Step 3: Call the SES for Major Emergencies
If your roof has suffered structural damage, such as a tree fall or a large section of sheeting lifting off, do not try to fix it yourself.
Call the State Emergency Service (SES) on 132 500 for emergency assistance. They are trained to handle dangerous structural situations and can install heavy-duty tarps to make the property safe until a roofer can arrive.
Step 4: Call a Professional Roofer
Contact a qualified roofer as soon as the immediate danger has passed.
We know from experience that waiting even a few days can mean a 4-6 week delay, as Perth roofers get booked out instantly after a major storm event. Getting your name on the list early ensures you get a professional assessment and quote while others are still waiting on hold.
A professional will:
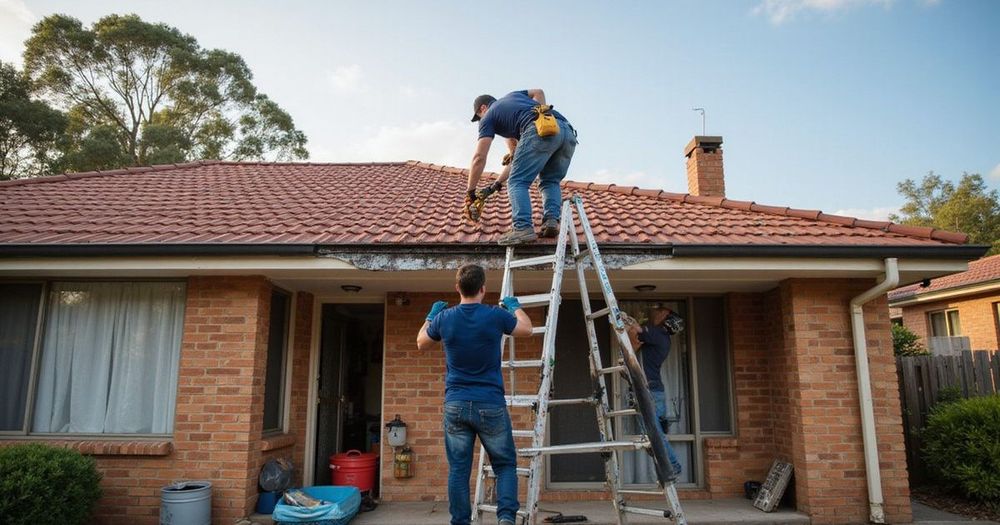
- Safely access the roof (using harness gear if wet/steep).
- Identify hidden damage like cracked tiles under the sarking.
- Provide a written report for your insurer.
- Quote for permanent emergency roof repair and restoration.
Step 5: Lodge Your Insurance Claim
Submit your claim as soon as you have your photos and the roofer’s report.
Insurers like RAC, HBF, and SGIO prioritize claims that are “ready to go” with all documentation attached. Be sure to list every damaged item, from the roof tiles down to the water-stained rug in the lounge.
Common Types of Perth Storm Damage
Different weather patterns cause distinct types of damage to WA homes:
- Wind Damage: Look for lifted tiles, missing ridge caps, and flashings that have peeled back. This is common in coastal suburbs like Ocean Reef and Scarborough.
- Heavy Rain Ingress: Occurs when gutters overflow or when water is driven uphill under the tiles (capillary action). Sarking acts as a second barrier here, if you don’t have it, leaks are more likely.
- Hail Damage: Can shatter clay tiles and leave deep dents in Colorbond metal sheets. While rare in Perth, hail events can destroy a roof in minutes.
- Debris Impact: Branches and flying objects cracking tiles. This often happens in older, leafy suburbs like Nedlands or Kalamunda.
Building Long-Term Storm Resilience
Beyond the seasonal checklist, there are permanent upgrades that make your home tougher.
- Install Sarking: If you are re-roofing, installing vapour-permeable sarking is now often mandatory under the National Construction Code (NCC) for many wind regions. It provides a crucial secondary waterproof barrier.
- Upgrade Valley Irons: Replace old galvanised irons with Colorbond or zincalume valleys that resist corrosion from salt air.
- Install Gutter Guards: Quality mesh guards prevent gum nuts and leaves from blocking your system during a storm, allowing water to flow freely.
- Regular Inspections: A comprehensive roof inspection every two years spots the “silent killers” like rusted screws or crumbling bedding before they fail.
Investing in these upgrades is cheaper than paying the excess on an insurance claim every winter. Our team helps Perth homeowners across the metropolitan area prepare their roofs for winter and respond quickly when storm damage occurs. Contact us before the next storm season for a thorough inspection and any repairs needed to keep your home protected.
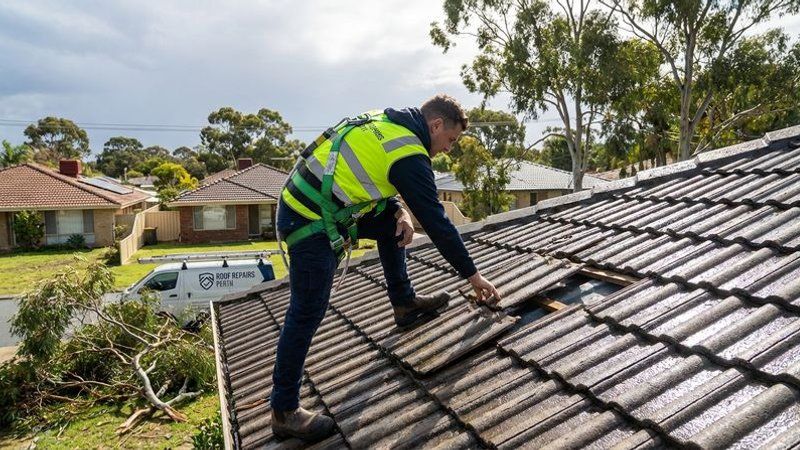
Need Help with Your Roof?
Get a free inspection and quote from Perth's trusted roof repair specialists. No call-out fee.