Emergency Roof Leak Fix: What to Do Until We Arrive
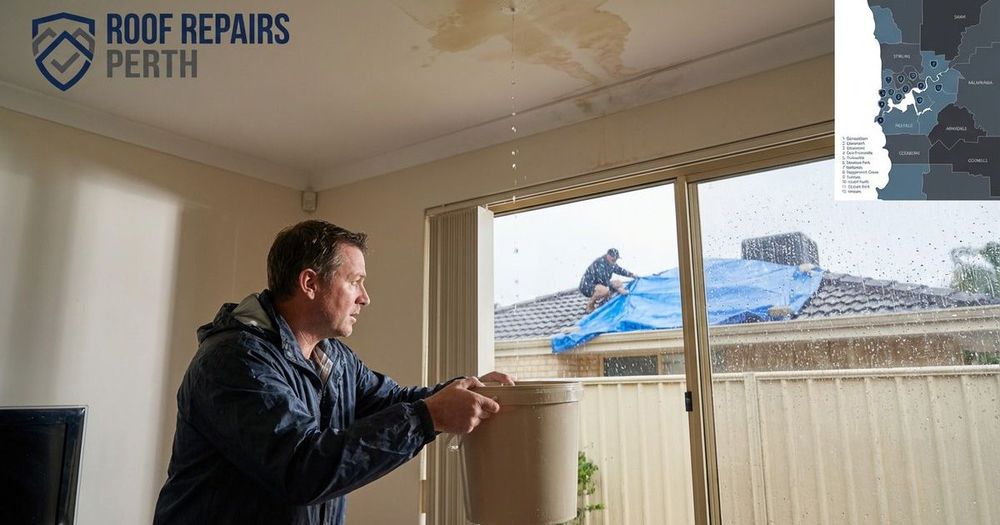
The calls we get at 2am during a winter front all sound the same. A brown stain has appeared on the ceiling, it is spreading, and there is a steady drip landing on the carpet.
The good news is that the hour before a roofer arrives is when you can save yourself the most money, not by fixing the roof, but by controlling the water that has already gotten in.
Almost all of the expensive damage we see later, the ruined plaster, the shorted downlights, the mouldy insulation, happens after the first drip, not during it.
This guide walks through what to do right now, what to leave alone, and where the line sits between a safe DIY hold-and-contain job and a call to our team.
A quick word on how we know this
We pull down water-damaged ceilings across the Perth metro every winter. The pattern is consistent: the homeowners who acted fast on the inside, and stayed off the roof, come out of it with a patch and a paint touch-up. The ones who climbed a wet roof in the dark, or ignored the drip until the sun came out, come out of it with a rebuild.
Step 1: Make It Safe Before You Do Anything
Water and electricity share a ceiling cavity, and that is the real danger in a roof leak, not the water itself.
If water is tracking anywhere near a light fitting, a downlight, or the ceiling rose, switch off the power to that part of the house at the switchboard before you stand under it. Do not touch a light switch or a fitting that is wet.
If the ceiling is sagging or bulging, keep everyone out from under it. A plasterboard ceiling holding a pool of water can let go without warning, and it is heavier than it looks.
Step 2: Contain the Water Inside
Once the area is safe, your job is to catch and direct the water, not to stop the leak.
Put a bucket or a bin under the active drip, and lay old towels around it to stop splashing onto the floor. Move furniture, rugs and anything electronic well clear of the drip zone.
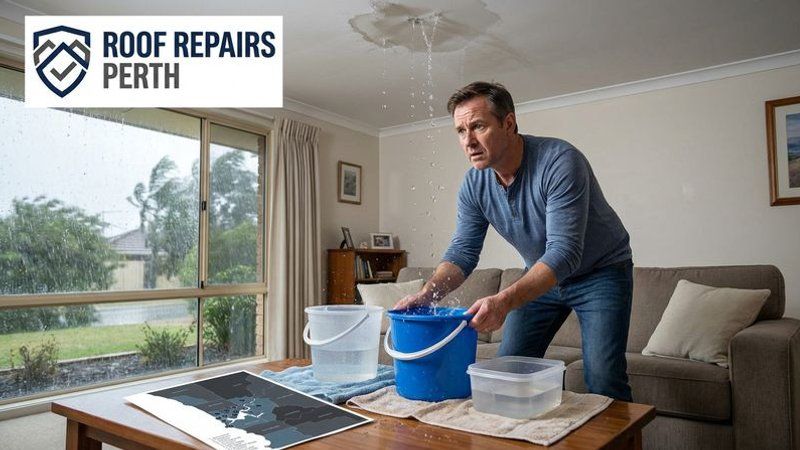
If the ceiling is bulging with trapped water, the counter-intuitive move is the right one. A single, small hole pushed through the lowest point of the bulge with a screwdriver, with a bucket underneath, lets the water drain in a controlled stream. Left alone, that same bulge tends to collapse the whole sheet. Only do this if you can reach it safely from a step ladder on solid flooring, and only after the power to that area is off.
Step 3: Photograph Everything for Insurance
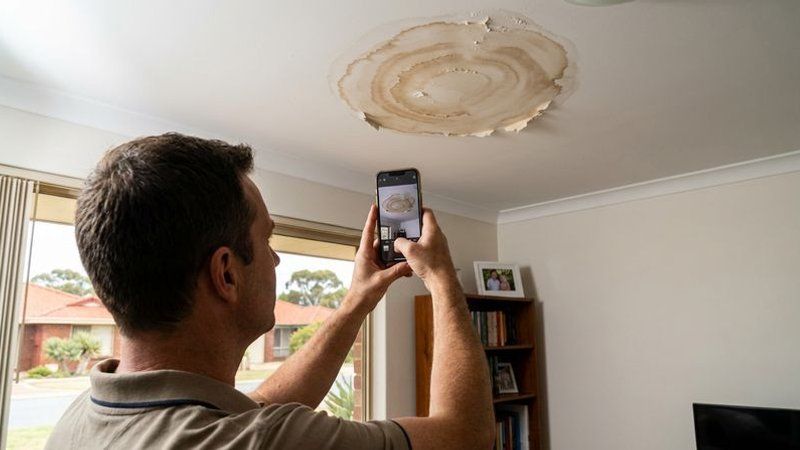
Before you mop up, take photos and a short video of the leak, the stains, and any damaged contents.
Most home insurance policies in WA cover sudden storm damage, and the difference between a smooth claim and a rejected one is usually the evidence. Capture the water coming in, the affected rooms, and anything that has been wrecked, then keep those files somewhere safe.
Step 4: Safe Temporary Fixes You Can Actually Do
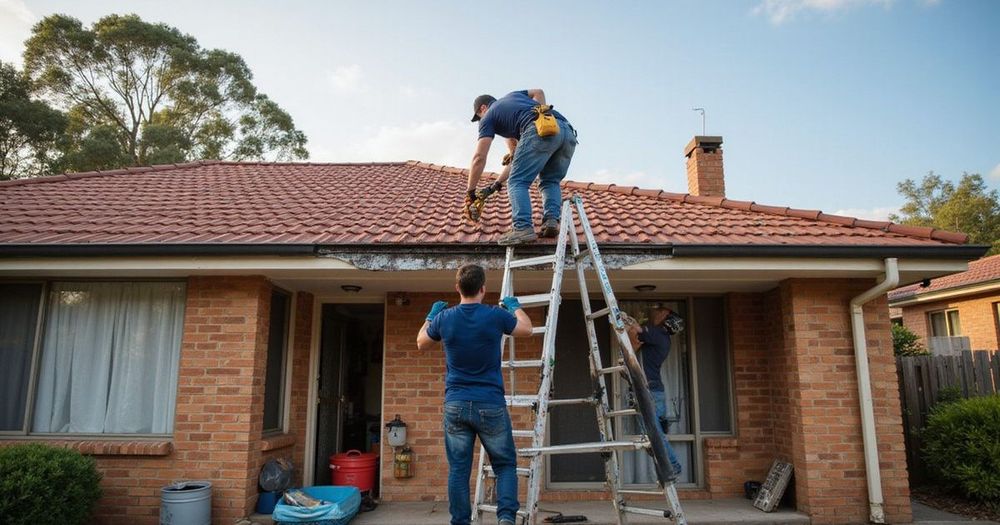
Here is the honest part: there is very little a homeowner should do on the outside of the roof during a storm, because a wet tiled roof is one of the most dangerous surfaces you can stand on.
What is reasonable from the ground or a stable ladder:
- Clear a visibly overflowing gutter or downpipe if you can reach it safely from the ground. A blocked gutter that is spilling back under the eaves is a common cause of a “roof” leak that is actually a gutter problem.
- Apply waterproof repair tape to a crack or split that is genuinely within safe reach and dry enough to stick, such as a split in a downpipe or a visible gap on a low single-storey eave. It is a hold, not a repair, and it will not adhere to a wet tile.
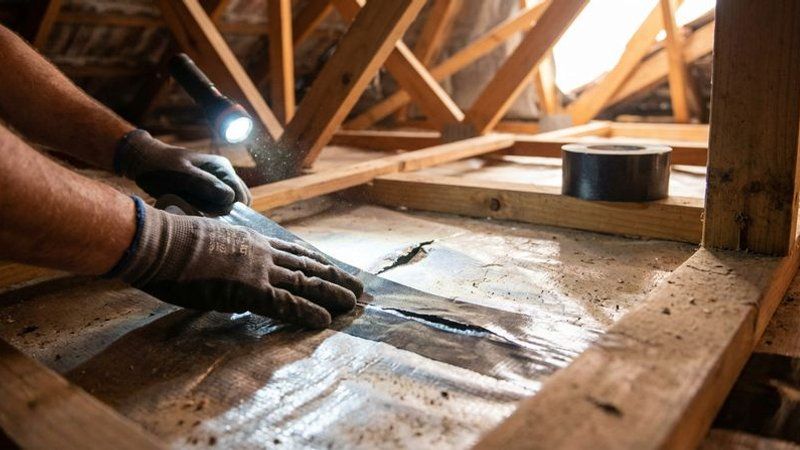
Tarping a roof is often suggested online, and it does work, but weighting and fixing a tarp on a pitched, wet roof in wind is genuinely hazardous and is a job we would rather do for you than read about you attempting.
What Not to Do
A few things make the damage worse, and we see all of them:
- Do not climb onto a wet or steep roof. No temporary fix is worth a fall from a two-storey Perth roof.
- Do not smear silicone or tar over everything. Random sealant traps water behind it and hides the real entry point, which makes the eventual repair longer and more expensive.
- Do not forget about it once the ceiling dries. The leak has not healed. It is waiting for the next front.
Where the Temporary Fix Ends and We Begin
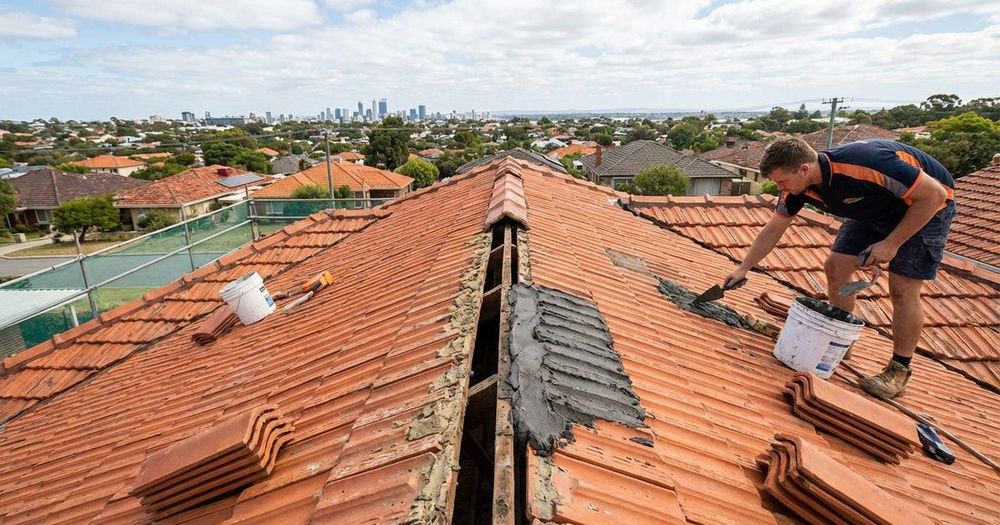
A temporary fix buys you a dry night. It does not tell you where the water is coming from, and that is the hard part. Water often enters at the ridge, runs several metres along a timber batten, and drips into a room nowhere near the actual fault.
Finding that entry point is what a professional leak detection visit is for. In our experience the usual culprits behind a heavy-rain leak are cracked ridge capping and failed flashing around chimneys, vents and skylights, but we confirm it rather than guess before quoting a repair.
Once the rain has passed and the roof is dry and safe, the smartest money you can spend is a roof inspection during the next dry spell, so the fault is found and fixed before the next storm rolls in off the coast, not during it.
Contain it tonight, photograph it for your insurer, stay off the roof, and let us find the source in daylight.
Need Help with Your Roof?
Get a free inspection and quote from Perth's trusted roof repair specialists. No call-out fee.